Two hundred cases finished the regression, twelve failed, and nine of those twelve were the script’s own problems.
What stalls real-device batch regression is the ability to tell, after the run, which failures are defects and which are a script that was written poorly.
Mobile automation means a program takes the place of a person doing repeated operations on a phone. Once the scale is up, cluster control is added for centralized management of many devices. This piece only covers the execution side: how a case is written, how waits are set, what to capture at the moment of failure, and how to work backwards when it falls over.
From writing a case to getting it through, which gates does it pass
See the whole chain first:
Write the test case (ID and text locators first)
   ↓
Connect the device (USB or WiFi into the device pool)
   ↓
Dispatch scripts in batch (cluster control runs them in parallel)
   ↓
During the run: screenshot / screen recording / log capture
   ↓
Collect results (pass rate / failed cases / crash stacks)
   ↓
Rerun failures + generate the report
Then the four gates of one case.
Gate one, the locator.
Prefer the control ID, then the text, then the hierarchy, and leave coordinates at the bottom.
| Locator | Stability | When to use it |
|---|---|---|
| Control ID | High | Prefer it for page elements that have an ID |
| Text | Medium-high | Buttons, titles, prompt copy |
| Hierarchy | Medium | Complex pages, parent plus child |
| Coordinate tap | Low | Fallback only, and avoid it where you can |
A script with hard-coded coordinates falls over entirely when the model changes. That is the most common one-shot script.
Write the locator a bit longer if you have to. Skip the shortcut of hard-coded coordinates.
After locating comes execution. The central control dispatches the script, dozens of devices run at once, and the screens are watched on one display:
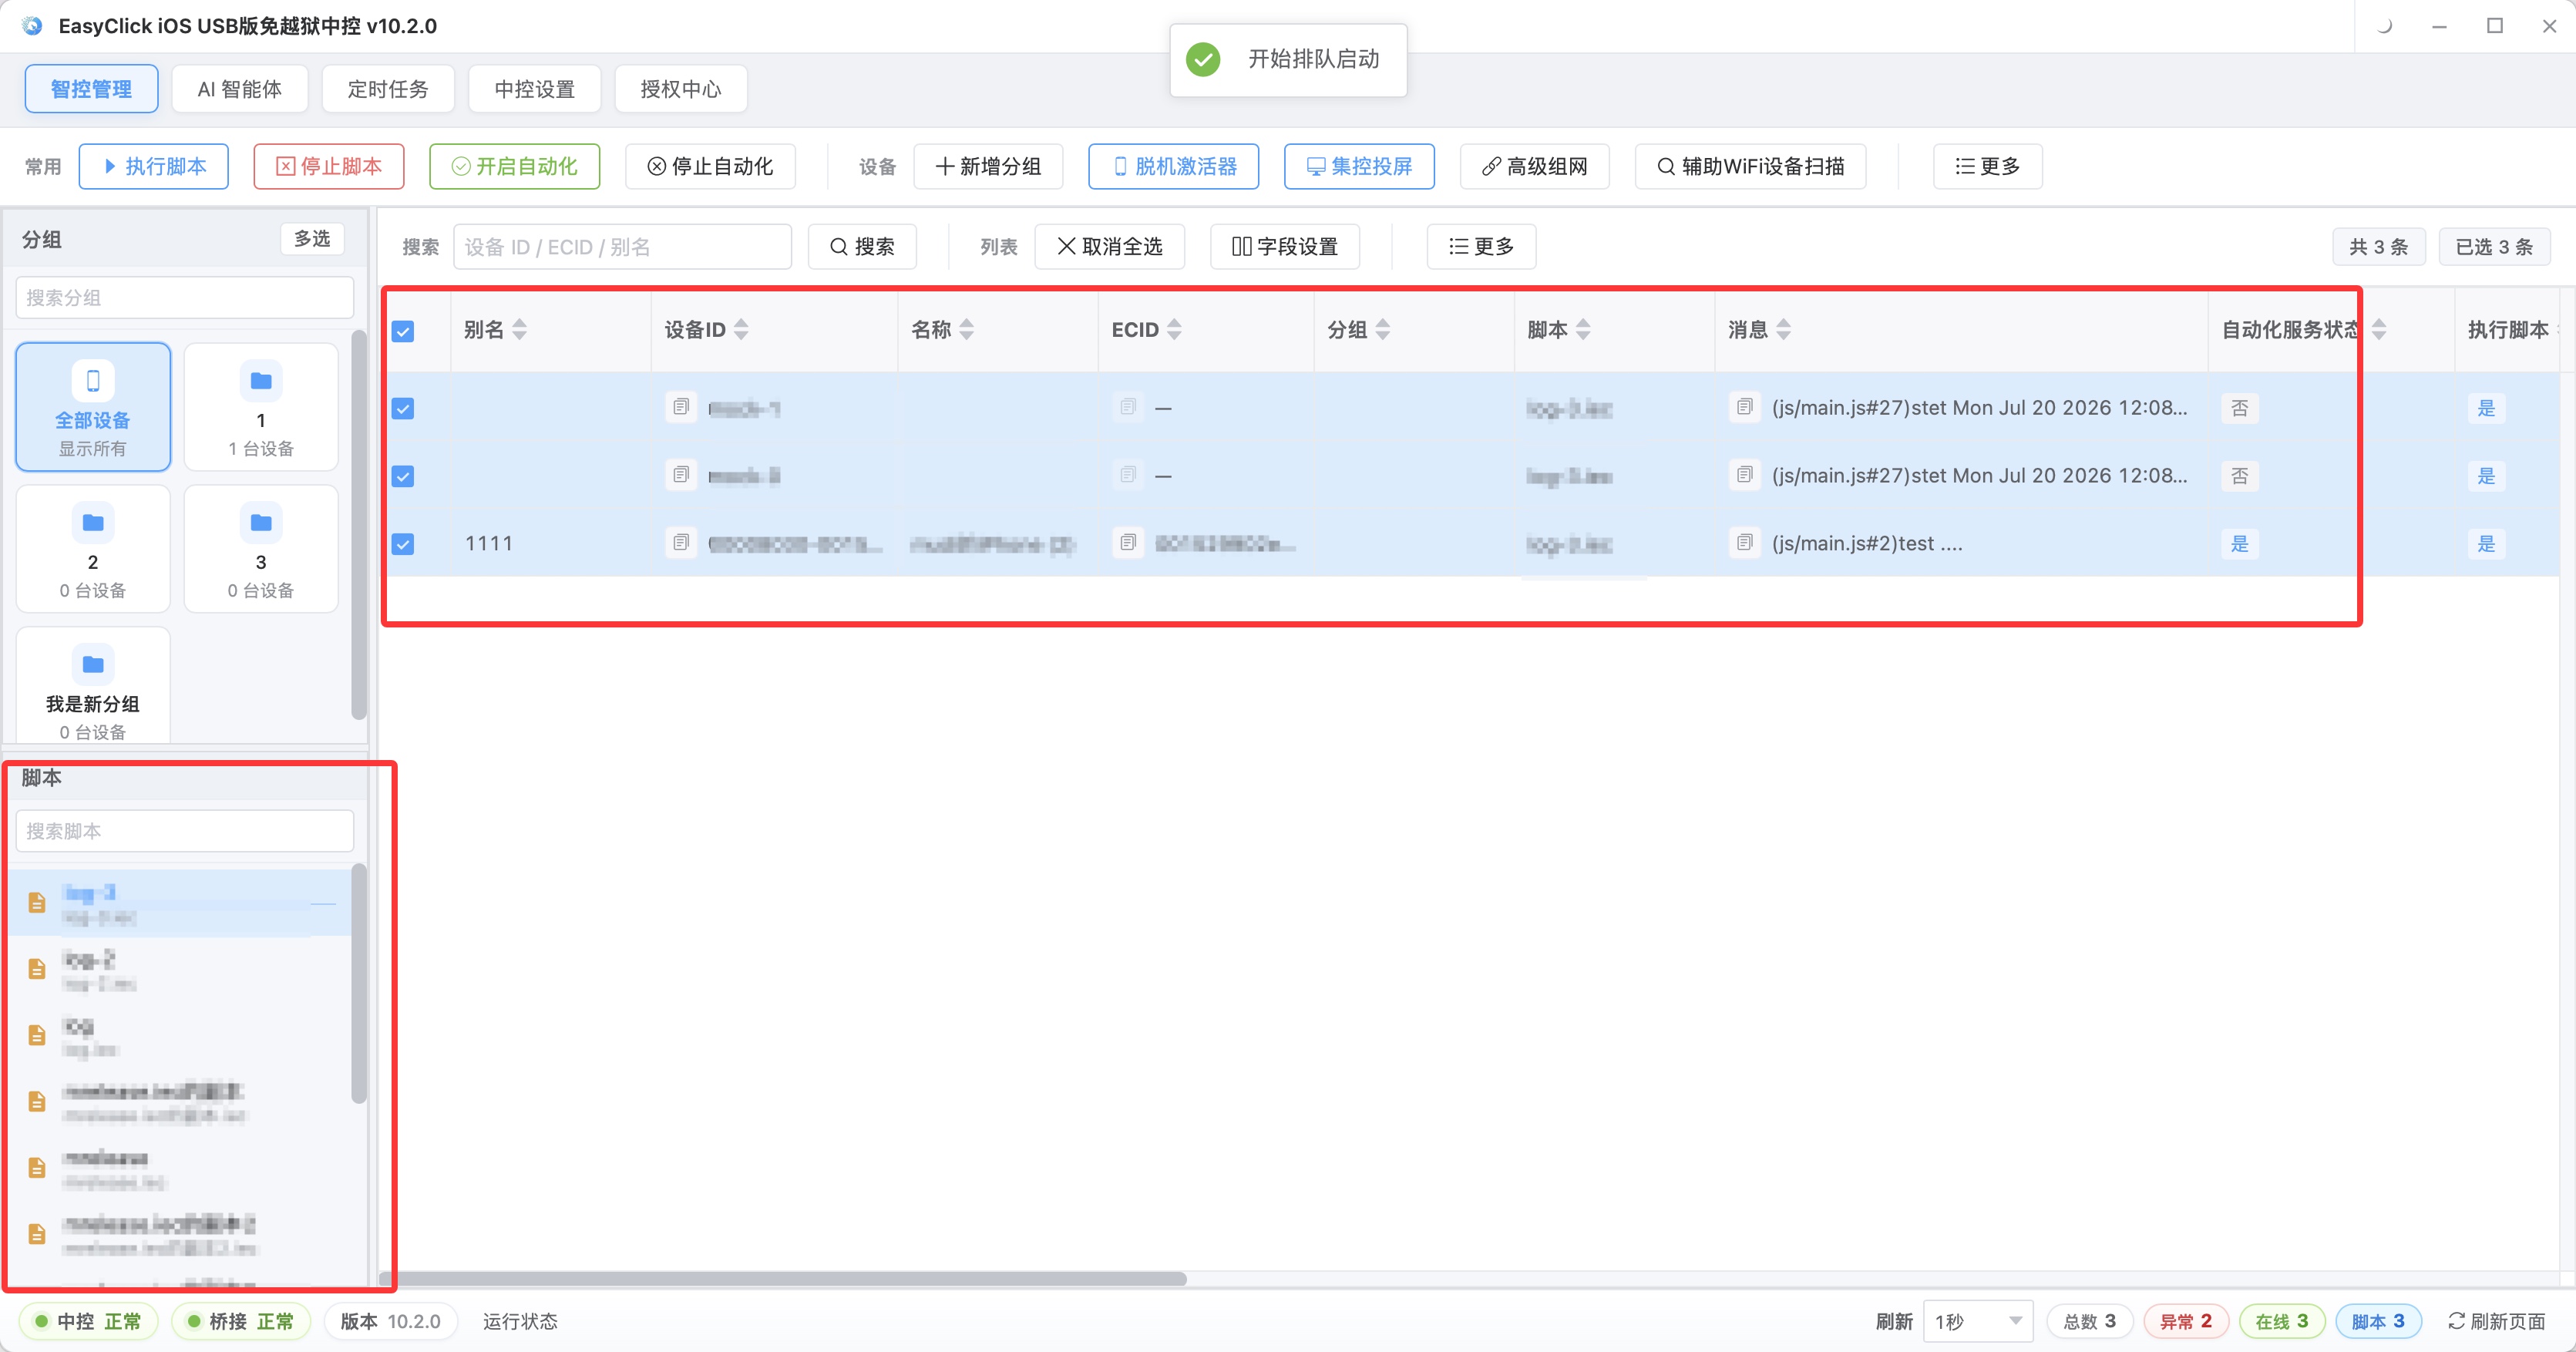
Gate two, the assertion.
One case, one check. Two or more assertions stuffed into one case leave you unable to tell which step failed.
The assertion has to land on a business result: the page appeared, the data is right. A process that did not crash is short of a pass.
State preconditions explicitly. Keep cases from growing an implicit dependency on each other.
Name them as “scenario + expected result,” so a failure report is readable at a glance.
Gate three, layering.
Split the script into three layers: an operation layer for taps, swipes, and input; a page layer for page elements and action wrappers; a case layer for combining business scenarios.
A page redesign changes only the page layer. The case layer stays put.
Gate four, reproduction.
A failure enters the defect pool only when it can be reproduced steadily. An occasional one is marked flaky first, then attributed.
How to write the wait: a fixed sleep is the top pitfall
A fixed sleep is the top reason a script is unstable. Too short, and the script moves on before the element is there. Too long, and the whole batch sits idle.
Switch to a smart wait: poll until the target element appears or disappears, then take the next step.
Element appears, then tap, then assert the result. All three get a timeout and a retry.
Retries need a count ceiling. Do not write them as an endless loop.
Sample code. The real script follows the script docs:
// Poll until the element appears, timeout 10 seconds
if (waitForElement('id/btn_submit', 10000)) {
  clickElement('id/btn_submit');
} else {
  log('btn_submit 未出现,跳过');
}
One machine with thirty devices hanging off it treats network jitter as normal.
A wait strategy written as a fixed number turns one jitter into one false failure, and once false failures pile up, nobody reads the report.
What to leave behind at the moment of failure
A script with no on-scene capture leaves debugging as guesswork. On failure, automatically capture four things: a screenshot, a screen recording, the log, and the network state. Together with the case steps, that locates the specific action.
Build a behavior file for each device: model, system version, and the history of failures. If it fails again and again, look at the device itself first, such as low memory, full storage, or overheating. Trying another device first can save two days of troubleshooting.
Once, on a customer’s side, three of twenty machines failed every time. The script was rewritten for two days, and it turned out those three had full storage.
Before a run, prepare the environment too: unify time zone, language, and input method across the device pool, turn off unnecessary pushes and system dialogs, create test accounts and data in batch, and keep the execution window away from system upgrades and network maintenance.
Five failure symptoms, and how to work backwards
| Symptom | Common cause | Handling |
|---|---|---|
| Occasional timeout | Wait strategy too short, fixed sleep | Switch to a smart wait |
| Whole model falls over | Coordinate locator | Switch to an element locator |
| Copy assertion fails | Font and line-break differences across models | Assert a substring, and skip comparing the full text |
| Tap does nothing | Element covered, or not loaded yet | Add a wait until it is tappable |
| Permission dialog interference | System dialog left unhandled | One shared dialog-handling script |
The order for working backwards stays fixed: device first, then the locator, then the assertion.
The device layer rules out hardware and health problems. The locator layer confirms the control is still there. The assertion layer confirms the comparison method is the right one.
Skip any layer and the time gets spent in the wrong place.
Design the rerun like this: a failure reruns once automatically, separating an occasional failure from a real defect.
An occasional failure is marked flaky and attributed. Network, timing, and dialogs are the three most common.
A real defect goes straight into the defect pool.
The rerun carries a fixed retry ceiling. Keep it from looping forever.
Two places to read next: Android automation testing covers how the same flow differs on the Android side, and getting started with Apple automation scripts covers the full iOS path from signing to a successful run. On iOS 15 or later, offline main program v7.2.0 or later can serve as the USB automation service, and the official download page has a pre-signed IPA. Signing it yourself uses an individual developer account, 688 yuan a year, up to 100 devices, supporting iOS 12 or later, and the fee is only the signature. TrollStore supports iOS 15 through 16.6.1, and a reboot drops the signature. The offline build supports only iOS 15 or later. From 7.0.0, single-app installs only the main program, and dual-app also has to sign the proxy IPA. From EC iOS USB 10.7.0 (2026-09-08) you can use USB HID, with no board installed, recommended on iOS 17 or later, and mutually exclusive with “start automation.”
About EasyClick: A mobile automation script development platform covering three phone ecosystems: Android without root, iOS without jailbreak, and HarmonyOS. It also offers Apple script writing, Apple cluster control, Android cluster control, remote cloud control, and AI phone cluster control. → Explore all products
Ready to build it for real?
Every approach in this article can be built with EasyClick capabilities on iEasyClick — full documentation, developer tools and automation products, free to try.